


Hi friends!
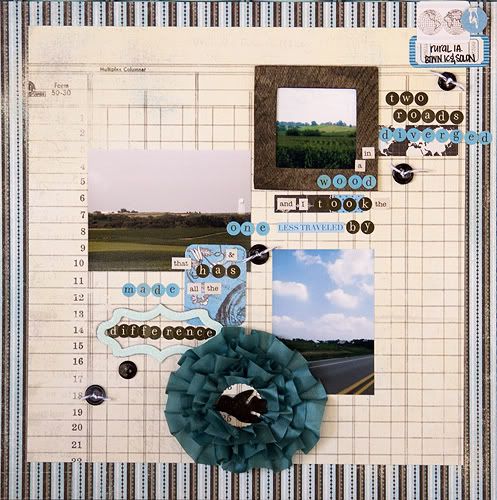
I showed someone recently how to heat emboss plain chipboard, and I decided I would write up a quick tutorial for it. It is NOT new, it is NOT revolutionary or anything like that. Rather, it's very simple and been around a long time. However, if you are new to paper crafts, you might not know how to do it -- and you should know. You can change the color of so many elements with a few simple steps like I did in this layout!
First, gather your supplies: what you want to emboss, your versamark pad, your embossing powder (I use Zing! by American Crafts!!) and your heat tool. (My heat tool is ANCIENT. Seriously I've had it since 2003 or so. It works fine so I haven't gotten a new one, but others work much better!!)

Next, place the item you wish to emboss on the versamark pad, covering it completely. (I always go over it a couple of times to make sure I got the entire item!)
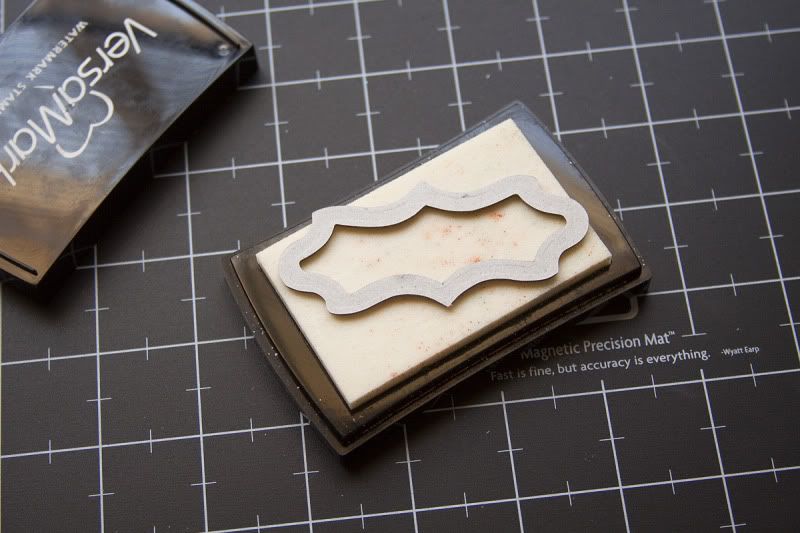
After you've done that, you will need to put the embossing side UP on a piece of paper or a tray specifically made for microbeads, powder, etc. (I use a sheet of paper my son colored on. It makes me smile every time I use it and it doesn't make a difference to me!)
Then, pour the embossing powder all over your item, making sure you coat it well!
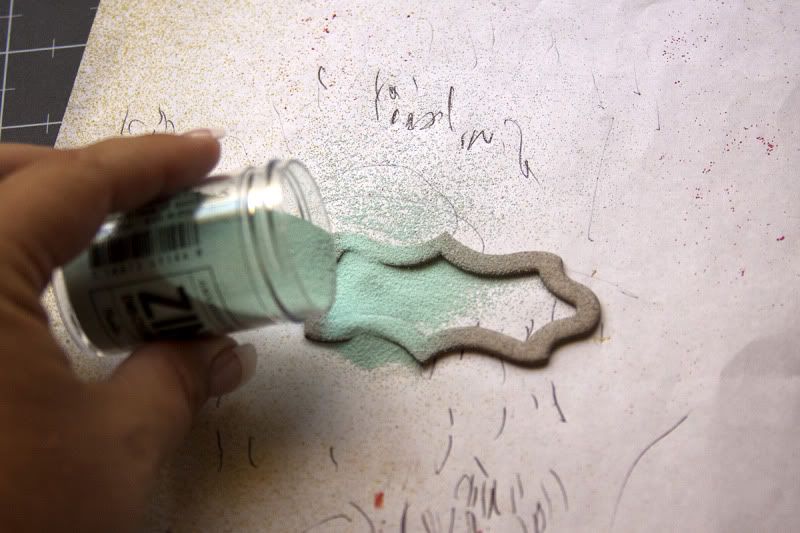
After it's well coated, shake off the excess. (I just pick it up and tap it gently)
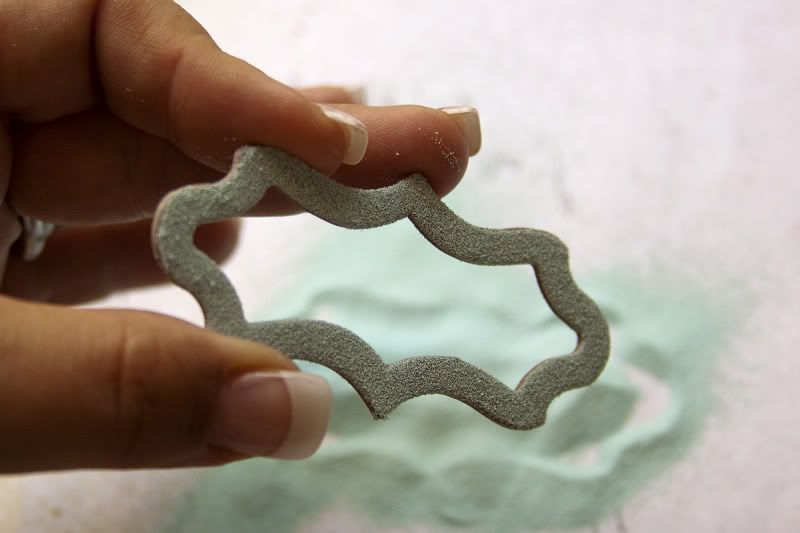
Pour the excess powder back into the jar. Then, turn on your heat tool and point it at your item to emboss, keeping it 8-10 inches from the item.
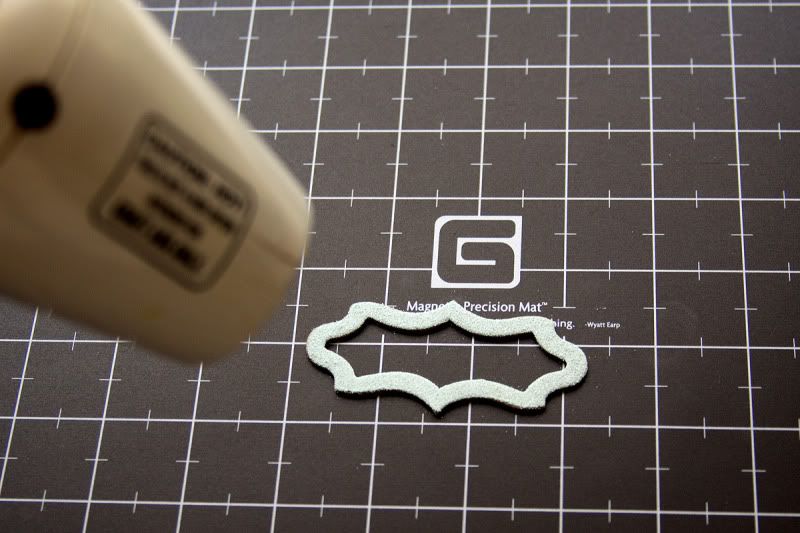
Voila! Now you have a solid colored item ready for your craft! Easy, right? You can use it for stamping or changing up chipboard! Add your embossed items to the gallery!


0 comments:
Post a Comment