


I would like to share to you my first ever technique class called "Paint Your Flower."
Materials Needed:
1. Prima E-Lines White Paper Flowers
2. Watercolor Paint
3. Paintbrush
4. Crop-a-dile or any 1/8 puncher
5. Inkpad
6. Ink applicator or a sponge
7. additional embellishmets like brads, buttons. gems, etc.
Step 1:
Pick some white paper flowers from your stash preferably the ones you think you might not use very soon.
 Step 2:
Choose a color combination from your watercolor paint. Choose the colors that will work best with your LO. For my example, I chose yellow, orange and red.
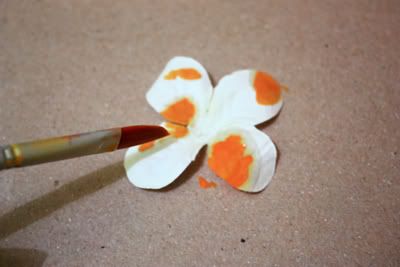
Step 3:
Apply your first colour to your paintbrush and gently dab it randomly to your flower.
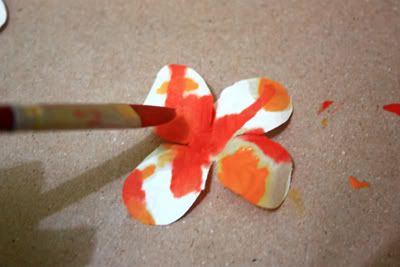
 Step 4:
Apply your second colour to your paintbrush and gently dab it randomly to your flower.
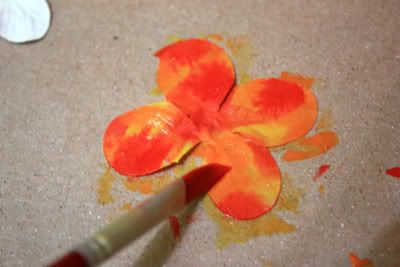
 Step 5:
Do the same to your third colour finally covering the entire flower with paint.
 Note: You can have 2 different effects by using your watercolor paints.
If you wish to have precise pattern and solid colours and shapes into your flower, use less water.
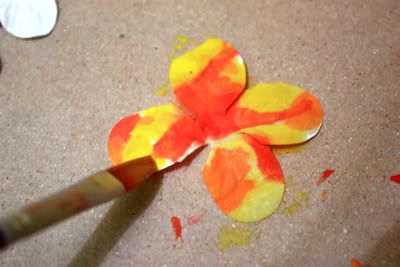 If you want your colours to blend with one another, use more water. Do not be afraid to experiment on this one.
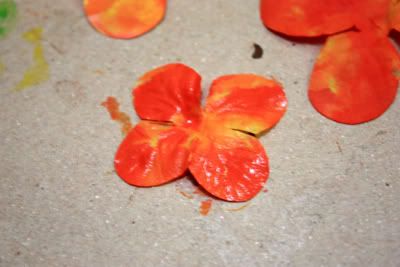
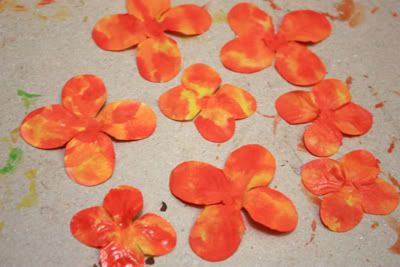
Step 6:
Colour your remaining flowers and set them aside for a couple of minutes to dry up.
Note: Be careful when handling your wet flowers because they might tear.
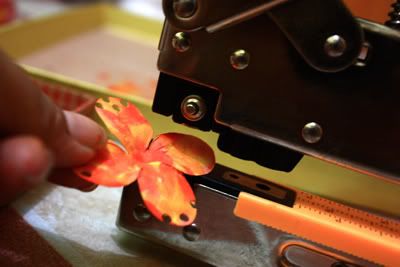
Step 7:
Once it is completely dry, grab a flower and start punching holes on the edge of its petal. Use a crop-a-dile or any puncher set to 1/8 size. Do the same to all the flowers.
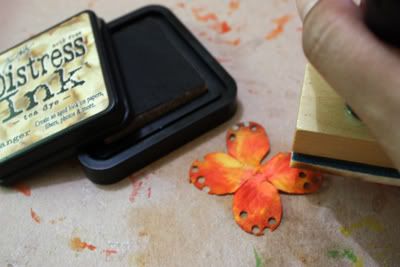
 Step 8:
Choose an inkpad that you can use to distress the edges of your flower. I chose Ranger Distress Inkpad - Tea Dye by Tim Holtz.
With your ink applicator/sponge, gently apply a small amount of ink to the edges of the flower.
This will add dimension and a distressed look to your flowers.
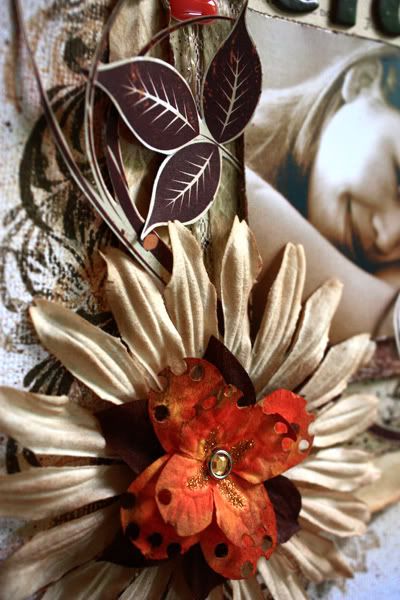
 Step 9:
Now feel free to embellish it as you want. You can add brads, buttons, stickes, etc.
My example LO:
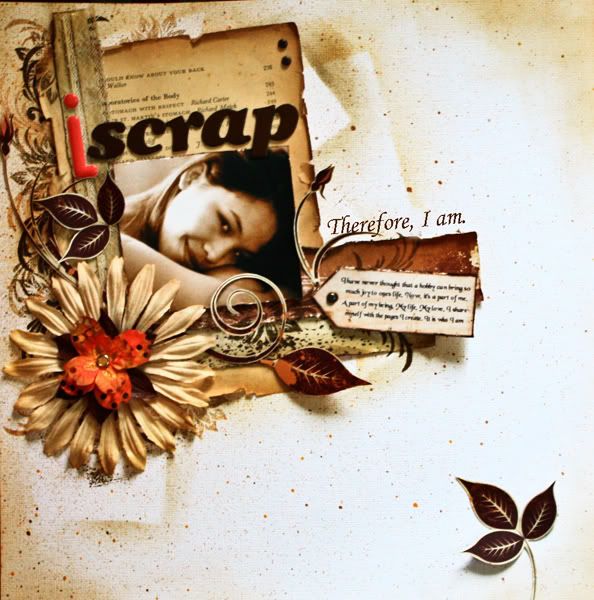 Thanks for dropping by!!!
LG


6 comments:
Love the punched holes! Great idea, LG!
Whoa!!! This is beautiful Lady Grace!!
I will have to try this...
Cute ideas! Love the glitter!
Wow! What a gorgeous finished product! I love this!
This is so cool esp with the punched holes.
So love this LG!!!
Post a Comment